

Apple HomeKit automations not working is a common issue among smart home users, especially when motion sensors and scenes suddenly stop triggering as expected.
Dealing with Apple HomeKit automations that refuse to work can be incredibly frustrating, especially when you’ve carefully set up motion sensors combined with time-based triggers. You’re not alone in this struggle. Many HomeKit users experience issues when mixing motion detection with conditions like “only after sunset” or “between specific hours.” The good news? Most of these problems have straightforward solutions once you understand what’s going wrong.
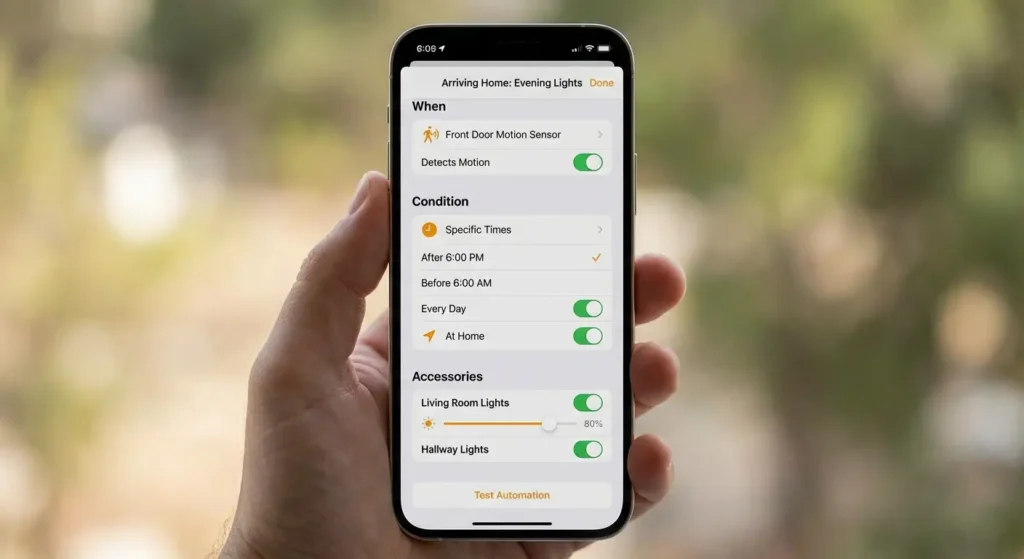
Let’s dive into the most common reasons your HomeKit automations aren’t triggering and how to fix them permanently.
Understanding the Core Problem
When you combine motion sensors with time-based conditions in HomeKit, you’re asking the system to evaluate multiple triggers simultaneously. HomeKit needs to confirm that both conditions are met before executing your automation. If even one element fails or miscommunicates, the entire automation stops working. This complexity creates several potential failure points that we’ll address below.
1. Time Condition Configuration Issues
HomeKit operates with strict logic when processing combined conditions. If your time settings contain any conflicts or ambiguities, the automation will silently fail without warning you.
Common mistakes include:
- Setting overlapping time ranges that contradict each other
- Combining “sunset to sunrise” with specific clock times
- Creating conditions that are impossible to meet simultaneously
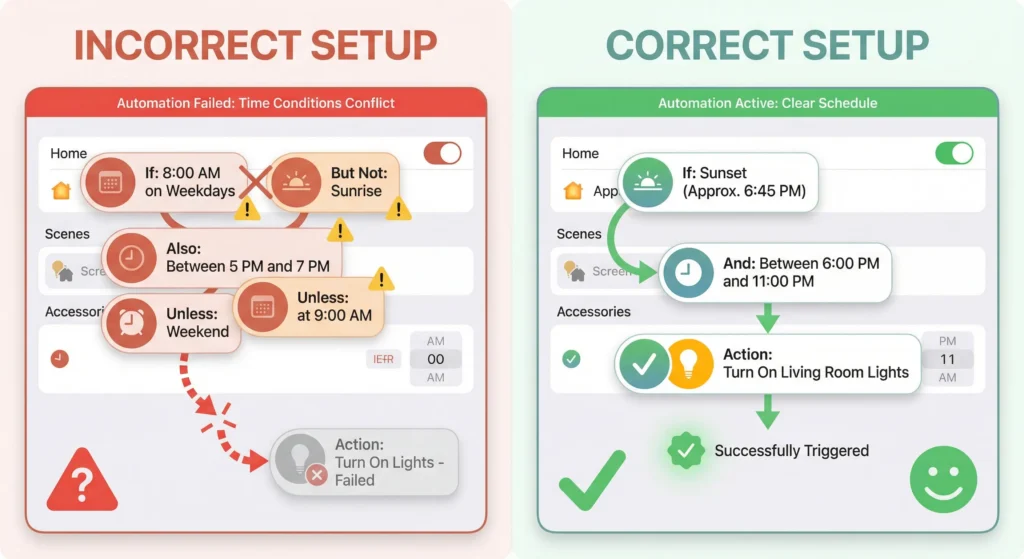
How to fix it:
Start fresh by deleting your current automation and building a new one from the ground up. Choose either a straightforward time window like 7:00 PM to 11:00 PM, or use sunset/sunrise triggers, but avoid mixing both unless absolutely necessary. Test your automation with the simplest possible configuration first, then gradually add complexity once you confirm it’s working.
2. Motion Sensor Battery and Connectivity Problems
Battery-powered motion sensors frequently enter power-saving sleep modes, which can delay detection or cause them to miss movement entirely. This becomes especially problematic when combined with time windows, as the sensor might not “wake up” fast enough to trigger during your specified hours.
Sensors commonly affected by this issue:
- Aqara motion sensors and door sensors
- Older Philips Hue motion detectors
- IKEA TRÅDFRI wireless sensors
- Eve Motion sensors
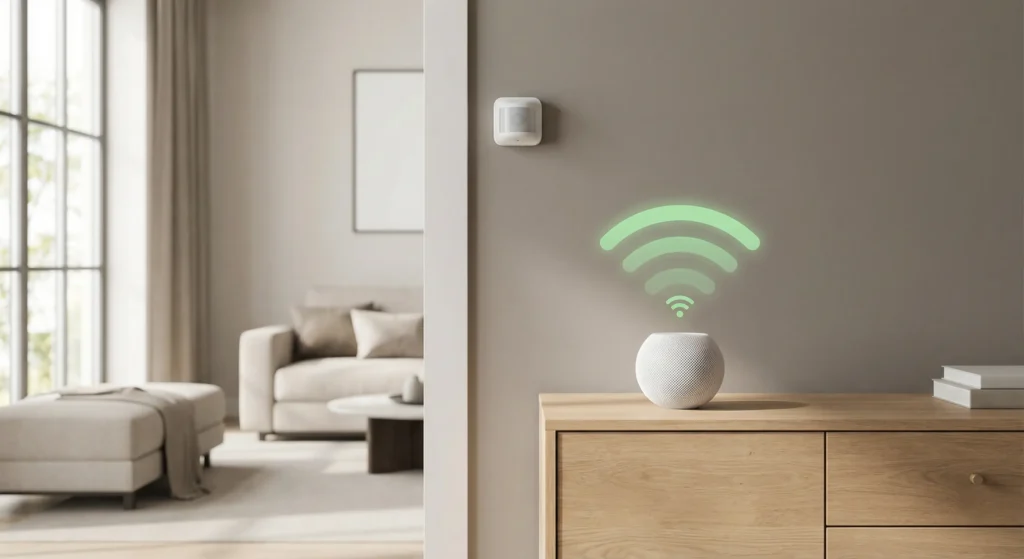
Effective solutions:
Replace batteries even if they show 50% or higher charge, as voltage drops can affect performance before the battery is fully depleted. Position your motion sensor within 15-20 feet of your HomeKit hub for optimal signal strength. Physical barriers matter significantly—avoid placing sensors behind metal objects, inside closets with metal shelving, or near thick concrete walls that block wireless signals.
3. HomeKit Hub Connectivity and Stability
Your HomeKit hub (HomePod, HomePod mini, Apple TV, or iPad) serves as the brain of your smart home. When this hub experiences connectivity issues or becomes unresponsive, all automations dependent on it will fail, even if individual devices appear to work fine.
Warning signs your hub is causing problems:
- Automations stop working suddenly without any changes
- Remote access to HomeKit fails when away from home
- Devices occasionally show “No Response” in the Home app
- Automations work inconsistently at different times of day
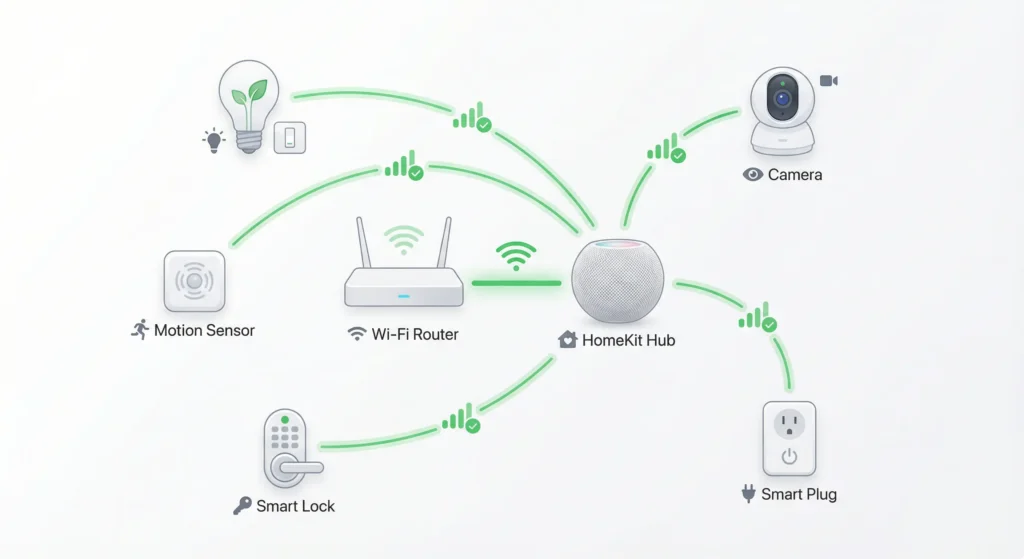
Troubleshooting steps:
Power cycle your HomeKit hub by unplugging it for 30 seconds, then reconnecting. Verify that your hub device is connected to the same WiFi network as your iPhone and other HomeKit accessories. If you have multiple potential hubs (like both an Apple TV and HomePod), temporarily disable one to eliminate conflicts—sometimes multiple hubs compete rather than cooperate, causing unpredictable behavior.
4. Location and Presence Detection Failures
When your automation includes presence-based conditions such as “when I arrive home” or “when everyone leaves,” HomeKit relies on your iPhone’s location services. Inaccurate location detection can prevent motion-based automations from triggering even when all other conditions are met.
Why location detection fails:
- GPS accuracy drops indoors or in urban canyons
- Low Power Mode disables background location updates
- WiFi disabled on your iPhone
- Bluetooth turned off, preventing proximity detection
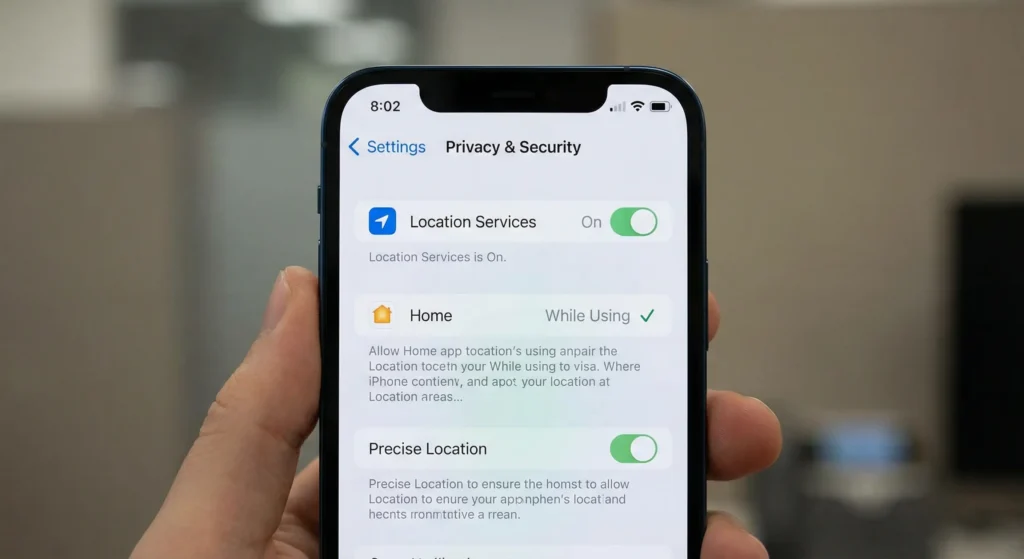
How to ensure accurate presence detection:
Keep both WiFi and Bluetooth permanently enabled on your iPhone, as HomeKit uses these for precise home detection. Disable Low Power Mode when at home, since it restricts background location services. Open the Home app, go to Home Settings, and verify your home location is accurately set with a proper geographic pin rather than relying on address autocomplete.
5. Room and Home Assignment Errors
HomeKit’s organizational structure relies on correct room and home assignments. If your motion sensor exists in a different “Home” within the app or is assigned to the wrong room, your automation may not recognize it as a valid trigger.
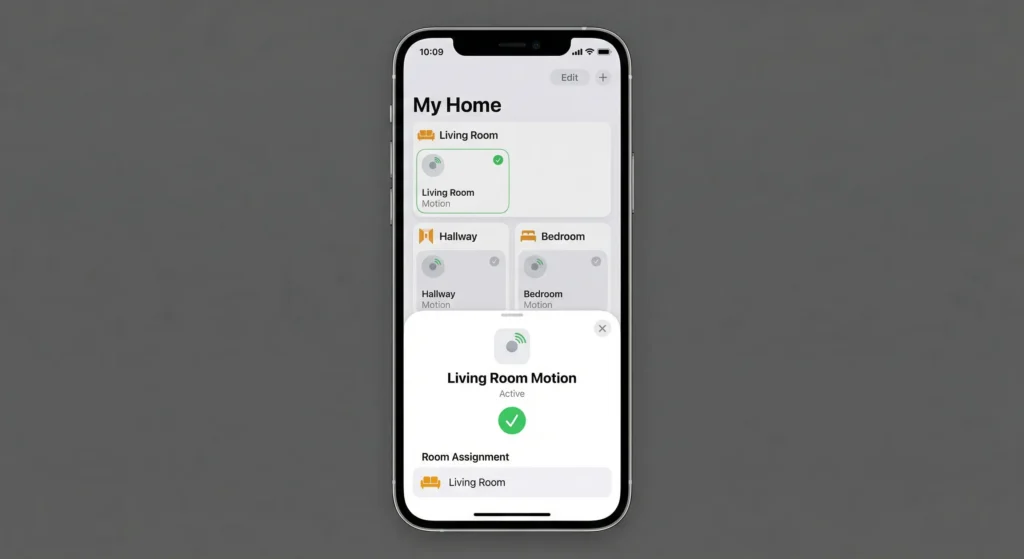
Quick fix:
Open the Home app, long-press on your motion sensor, scroll down to see its current room assignment, and move it to the correct location if needed. Check that you haven’t accidentally created duplicate “Homes” in your HomeKit settings, which can cause devices to appear in the wrong organizational structure.
6. Conflicting Automation Logic
Multiple automations controlling the same devices can create unexpected conflicts. HomeKit may prioritize one automation over another, or it might skip actions entirely to avoid contradictory commands.
Example conflict scenarios:
- One automation turns on lights when motion is detected after 8 PM
- Another automation turns off the same lights at 10 PM regardless of motion
- A third automation adjusts brightness based on ambient light
When these overlap, HomeKit’s decision-making becomes unpredictable.
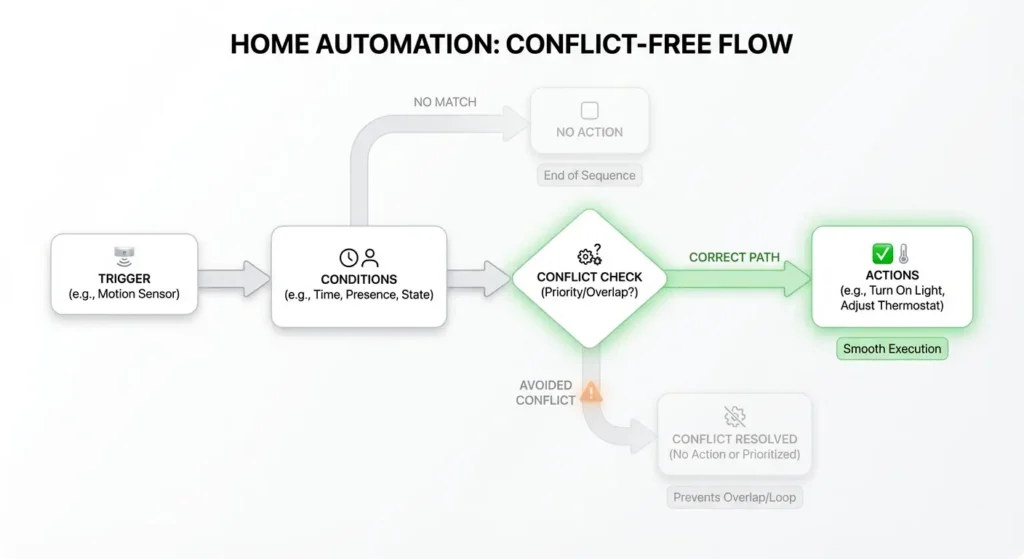
Best practice solution:
Consolidate related automations into single, comprehensive rules whenever possible. Instead of three separate automations, create one that handles all lighting conditions with appropriate time windows and motion triggers built in. This reduces conflicts and makes troubleshooting much easier.
7. Software Bugs and Update Issues
Apple occasionally introduces bugs in iOS, tvOS, or HomePodOS updates that temporarily disrupt automation logic. While frustrating, these issues typically get resolved in subsequent updates.
Symptoms of software-related problems:
- Automations that worked perfectly suddenly stop functioning
- Only time-based OR motion-based triggers work, but not combined
- Problems began immediately after installing a system update
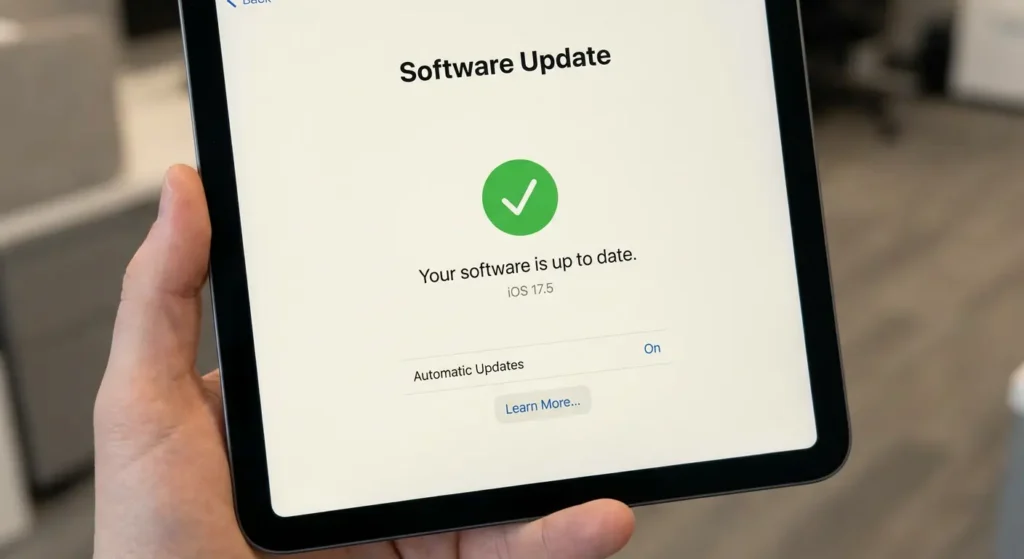
Recovery steps:
Update all your devices to the latest available software versions—this includes your iPhone, iPad, Apple TV, and HomePod. Sometimes the fix requires updating the hub device specifically. If problems persist after updating, delete the problematic automation completely and recreate it from scratch rather than editing the existing one, as this clears any corrupted configuration data.
Testing Your Fixed Automation
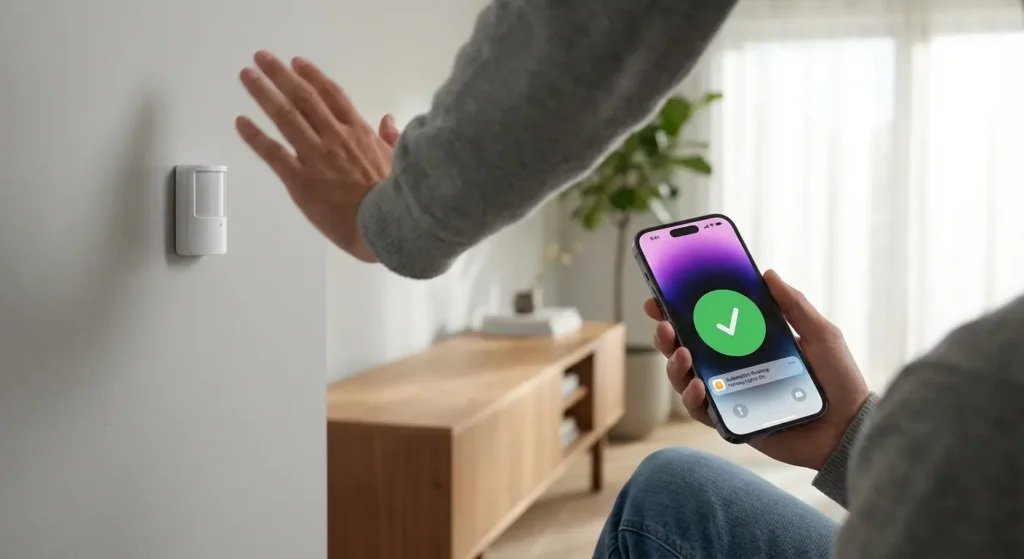
After implementing these solutions, test your automation thoroughly before relying on it. Manually trigger the motion sensor during your specified time window and verify the action occurs. Test again outside the time window to confirm it doesn’t trigger inappropriately. Walk through the detection zone at different angles and distances to ensure consistent performance.
Conclusion
Apple HomeKit automations combining motion sensors with time-based conditions should work flawlessly when properly configured. The challenges you’re experiencing typically stem from miscommunication between devices, improper settings, or hub connectivity issues rather than fundamental limitations of the system.
By systematically working through the troubleshooting steps above—from verifying time conditions and sensor placement to ensuring hub stability and eliminating automation conflicts—you can restore reliable, consistent performance to your smart home. The key is methodical testing and simplification until you identify the specific issue affecting your setup.
Remember that HomeKit automation works best when kept simple and logical. Start with basic configurations, confirm they work, then gradually add complexity. This approach not only prevents problems but makes troubleshooting much easier when issues do arise.